Ever wondered how long it takes to transform your hair with extensions? You’re not alone. The process isn’t just about adding length or volume; it’s about achieving that perfect look without spending your entire day in a salon chair.
I’ve delved into various methods, from clip-ins to sew-ins, and each has its own timeline. Whether you’re aiming for a quick fix or a more permanent solution, understanding the time commitment can help you choose the best option for your lifestyle.
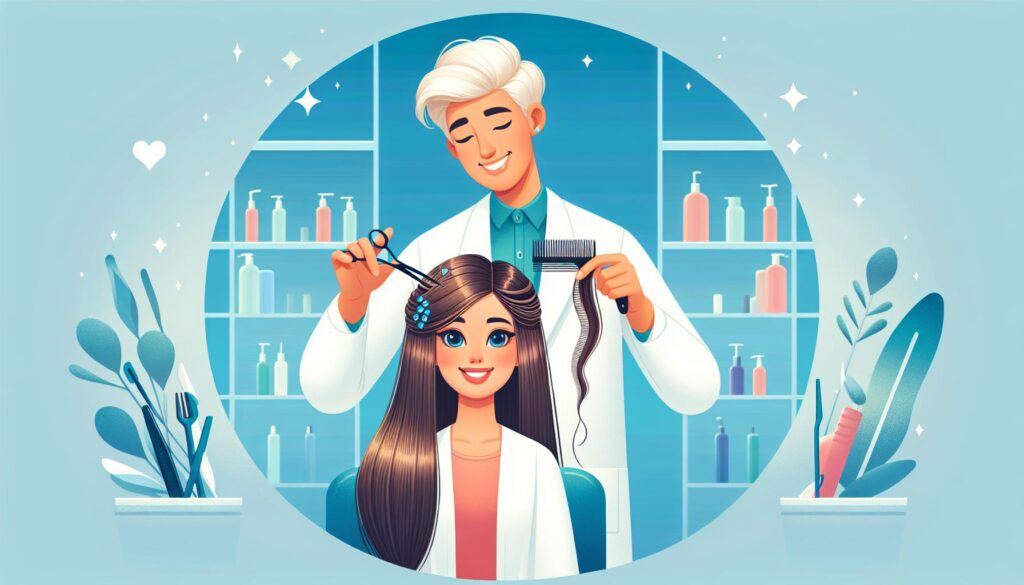
Understanding Hair Extensions
Types of Hair Extensions
Hair extensions transform hair length and volume. There are different types, each with unique characteristics and application methods.
- Clip-In Extensions: These temporary extensions come with clips attached. Great for occasional use, they take about 10-30 minutes to put in and remove.
- Tape-In Extensions: These semi-permanent extensions use adhesive tape. They last 6-8 weeks, requiring about 1-2 hours for application.
- Sew-In (Weave) Extensions: Sew-ins involve braiding natural hair and sewing the extensions onto the braids. This method lasts 6-10 weeks and takes 2-4 hours to install.
- Fusion (Keratin) Extensions: Fusion extensions bond using keratin. They provide a natural look for 2-4 months but take 3-6 hours to apply.
- Micro-Link (Bead) Extensions: These extensions use small beads to attach strands to natural hair. They last 2-4 months, needing 2-4 hours for application.
Factors Influencing Duration
Several factors affect how long hair extensions take to put in.
- Hair Type: Different hair textures and thicknesses influence installation time. Thicker hair usually requires more time.
- Extension Type: As mentioned above, clip-ins take less time than sew-ins, tape-ins, or fusion methods.
- Stylist Experience: Experienced stylists generally work faster and more efficiently, reducing overall time.
- Desired Look: Complex styles might need more time compared to simpler ones.
- Maintenance Needs: Some methods, like tape-ins, need regular maintenance, adding to the time commitment over the extension’s lifespan.
Understanding these factors helps manage expectations and choose the most suitable hair extension method based on individual needs and lifestyle.
The Installation Process of Extensions

Pre-Installation Preparation
Preparing for hair extension installation involves three key steps. First, clean hair ensures better adhesion. I recommend washing hair with a clarifying shampoo 24 hours before the appointment. Second, detangled hair prevents knots during the installation process. Use a wide-tooth comb to eliminate tangles. Third, consultation with a stylist clarifies your desired look. Discuss the type of extensions, color matching, and maintenance tips.
Step-by-Step Installation
The installation of hair extensions varies by type. Here’s a breakdown of common methods:
Clip-In Extensions:
- Sectioning: The stylist divides hair into sections for easier application.
- Clipping: Clips attach extensions to the base of each section, taking 5-10 minutes per section.
- Blending: Hair is blended for a natural look. Total time: 30-45 minutes.
Tape-In Extensions:
- Sectioning: Hair is sectioned into thin layers.
- Taping: Extensions, with adhesive tapes, are sandwiched between hair layers. Each tape application takes 1-2 minutes.
- Blending: Hair is cut and styled to blend extensions. Total time: 60-90 minutes.
Sew-In Extensions:
- Braiding: Hair is braided into cornrows.
- Sewing: Using a needle and thread, extensions are sewn into braids. Each weft takes about 30 minutes.
- Styling: Extensions are styled after installation. Total time: 2-4 hours.
Fusion Extensions:
- Sectioning: Hair is sectioned into small strands.
- Bonding: Extensions are fused to natural hair using keratin bonds or glue, taking 3-5 minutes per strand.
- Blending: Hair is styled post-installation. Total time: 3-4 hours.
- Sectioning: Hair is divided into small sections.
- Linking: Extensions are attached using tiny metal beads, with each bead taking 2-3 minutes.
- Blending: Hair is styled and blended. Total time: 2-3 hours.
Understanding this process helps in setting realistic expectations regarding the time and care required for hair extensions.
Time Frames for Different Types of Extensions
Clip-In Extensions
Clip-in extensions offer a quick and temporary solution for adding length and volume. The application time for clip-in extensions varies based on experience and the number of wefts used. Generally, it takes between 10 and 30 minutes. Stylists often prepare the hair by sectioning it and then clipping in each weft, starting from the bottom and moving upwards. These extensions can be easily removed and re-applied, making them ideal for occasional wear.
Tape-In Extensions
Tape-in extensions provide a semi-permanent option with an application time of around 60 to 90 minutes. The process involves sectioning the hair and sandwiching small sections between two adhesive strips. For optimal results, it’s important to align the extensions close to the scalp. With proper care, these extensions can last 6 to 8 weeks before needing reapplication.
Sew-In Extensions
Sew-in extensions, also known as weaves, require a more extensive installation process. This method involves braiding the natural hair into cornrows and sewing the extensions onto the braids with a needle and thread. The entire process typically takes 2 to 4 hours, depending on the number of rows and the stylist’s expertise. Sew-in extensions are suitable for individuals looking for long-lasting results, usually lasting about 6 to 8 weeks.
Fusion & Pre-Bonded Extensions
Fusion extensions, also called pre-bonded extensions, involve attaching individual hair strands using a keratin bond. This method is the most time-consuming, with application times ranging from 3 to 6 hours. A stylist uses a special tool to heat the keratin bond and secure each strand to small sections of natural hair. These extensions can last up to 4 months but require regular maintenance to keep the bonds in good condition.
Micro Link Extensions
Micro link extensions, also known as micro bead or loop extensions, involve attaching small sections of extensions to natural hair using tiny metal beads. Application time for this method typically ranges from 2 to 5 hours. The process involves threading small sections of natural hair through the beads and clamping them to secure the extensions. Micro link extensions can last up to 3 months with proper care and maintenance.
Tips for Speeding Up the Process

Time management and preparation are crucial. Prepare your hair properly before the installation to expedite the process. Ensure your hair is clean, dry, and tangle-free. Clients often underestimate the impact of preparation on installation time.
Choose an experienced stylist who specializes in the specific type of extension you need. An experienced stylist works more efficiently and can avoid potential delays caused by inexperience. For example, a stylist proficient in fusion extensions can significantly reduce the time required.
Use high-quality hair extensions. Premium extensions not only look better but also integrate more smoothly into your natural hair, reducing the need for adjustments. For instance, clip-in extensions of high quality clip in and out with ease.
Schedule a consultation beforehand. During the consultation, discuss your hair type, the extension type, and your expectations. This pre-installation meeting allows the stylist to prepare adequately and ensure they have the necessary tools and extensions on hand.
Set up your appointment during off-peak hours. Salons tend to be less busy during mid-week mornings or early afternoons. During these times, stylists are less rushed, which can result in a quicker process.
Maintain your extensions properly. Proper maintenance after installation can minimize the time required for touch-ups or reapplications. Regularly washing and conditioning extensions, avoiding excessive heat, and gentle brushing all contribute to the longevity and appearance of extensions.
Invest in a streamlined installation method if time is a concern. Tape-in extensions, for instance, are relatively quick to install, taking 60-90 minutes compared to other types that require several hours. Choosing a faster method can align better with busy schedules.
By adhering to these tips, I can ensure a smoother, quicker extension installation process, reducing downtime and maximizing the quality and appearance of the extensions.
Maintenance and Care Post-Installation

Proper maintenance and care ensure extensions last longer and look better. Extensions require regular washing to prevent buildup. Use sulfate-free shampoos and conditioners to maintain the integrity of the extensions. Rinse thoroughly to avoid residue.
Brushing extensions gently with a wide-tooth comb or a special extension brush minimizes tangles and breakage. Start from the tips and work upward. Avoid brushing when wet, as it weakens bonds and increases the risk of damage.
Heat-styling tools, such as flat irons and curling wands, should be used sparingly. If necessary, apply a heat protectant beforehand to shield the extensions from thermal damage. Set the tools to low or medium heat to further prevent harm.
Regular touch-ups and check-ups with a stylist help maintain the extensions’ appearance and health. Depending on the type, sessions for tightening or adjusting bonds might be necessary every 4-8 weeks. This prevents matting and slipping.
Sleeping with extensions requires extra care. Use a silk or satin pillowcase to reduce friction, or braid the hair to prevent tangling. A silk or satin bonnet also offers protection and maintains the hairstyle’s shape.
Avoid excessive exposure to chlorinated water or saltwater, as they degrade extensions’ quality. If swimming, wear a swim cap or rinse the hair immediately after to minimize damage. Apply a leave-in conditioner to add an extra layer of protection.
Following these maintenance tips ensures your extensions remain in top condition, enhancing their longevity and keeping your hair looking great.
Conclusion
Understanding how long extensions take to put in involves more than just the installation time. Pre-installation steps and proper maintenance play crucial roles in ensuring the best results. By following the recommended care tips like using sulfate-free products and minimizing heat styling you can keep your extensions looking fabulous for longer. Regular touch-ups with a stylist and protecting your hair from harsh elements will also contribute to their longevity. With the right approach you can enjoy beautiful extensions that enhance your natural beauty and boost your confidence.
Frequently Asked Questions
What are the most common types of hair extensions?
The most common types of hair extensions include clip-ins, tape-ins, sew-ins, micro-links, and fusion bonds. Each type has its own unique installation process and suitability for different hair types and lifestyles.
How can I prepare my hair before getting hair extensions?
Before getting hair extensions, ensure your hair is clean, dry, and free of any products. A proper trim and consultation with your hairstylist can also help in selecting the right type of extensions for your hair type.
How often should I wash my hair extensions?
Wash your hair extensions every 1-2 weeks using sulfate-free shampoos and conditioners to maintain their quality and prevent buildup. Over-washing can reduce their lifespan.
What is the best way to brush hair extensions?
Use a wide-tooth comb or a special detangling brush designed for hair extensions. Start from the bottom and work your way up to avoid pulling and damaging your natural hair and extensions.
Can I use heat styling tools on my hair extensions?
Minimal heat styling is recommended to prolong the life of your hair extensions. When using heat, apply a heat protectant spray and avoid high temperatures to prevent damage.
How often should I see my stylist for maintenance?
Regular touch-ups with your stylist every 6-8 weeks are essential to maintain the appearance and health of your hair extensions. This helps address any issues and ensures they remain securely attached.
What are the best sleeping practices when wearing hair extensions?
Avoid sleeping with wet hair and try to braid or tie up your hair in a loose ponytail to prevent tangling and matting. Silk or satin pillowcases can also reduce friction and maintain the quality of your extensions.
How can I protect my hair extensions from chlorinated or saltwater?
Before swimming in chlorinated or saltwater, wet your hair with clean water and apply a protective, leave-in conditioner. Wearing a swim cap can also provide an added layer of protection against damage.